.jpg)
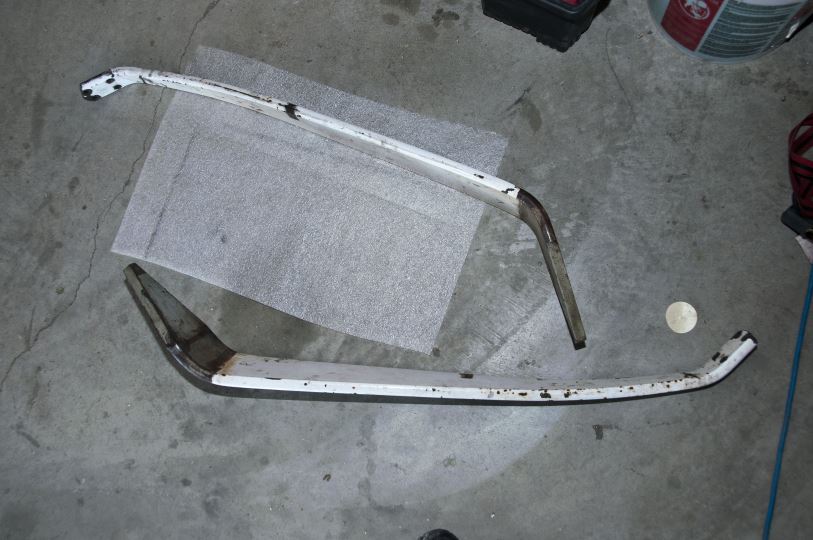
That little piece of bent metal is what we could see without removing the fairing.
by Matt Nolan
This is a cautionary tale about the potential nightmares of airplane purchase and ownership that I hope others inexperienced with buying aircraft may find useful in preventing the nightmare that I went through buying my first plane. Though I thought I was buying from a reputatable dealer and had a pre-purchase inspection done, I had no personal references for either and this was probably not a good thing. I bought the plane sight-unseen based on the inspection report, and that probably wasnt not a good thing either. There a lot of simple things an owner can look for in person, even if not a mechanic, as shown below. In the end, the bad news was that I put more than the purchase price into making the plane safe to fly, but the good news is that I learned a lot and the plane is now safe to fly. Hopefully you can avoid my nightmare and jump straight to the good news.
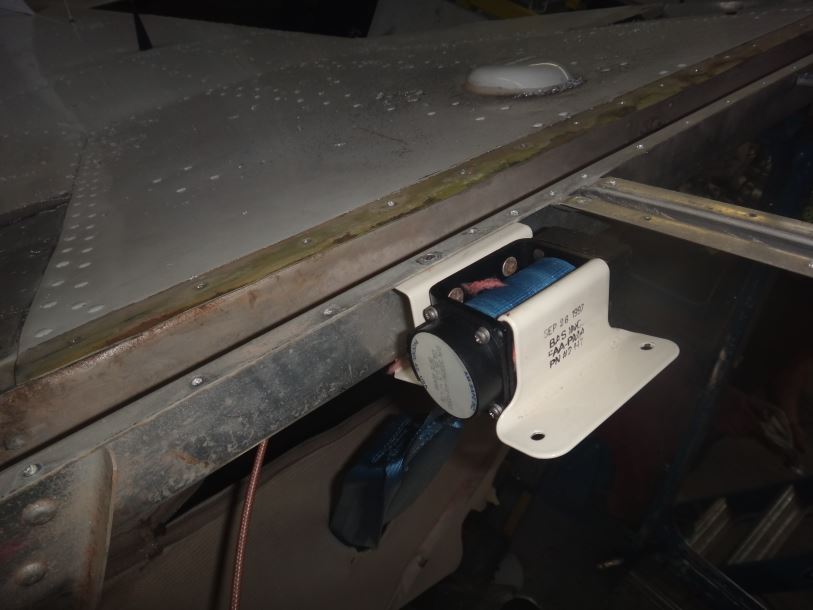
The loose and damaged wing struts were the first issue we found.
That little piece of bent metal is what we could see without removing the fairing.
.jpg)
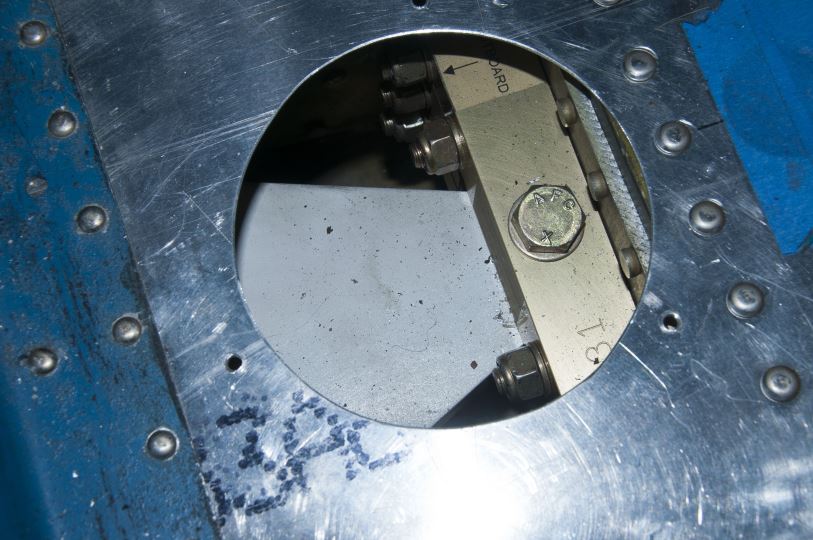
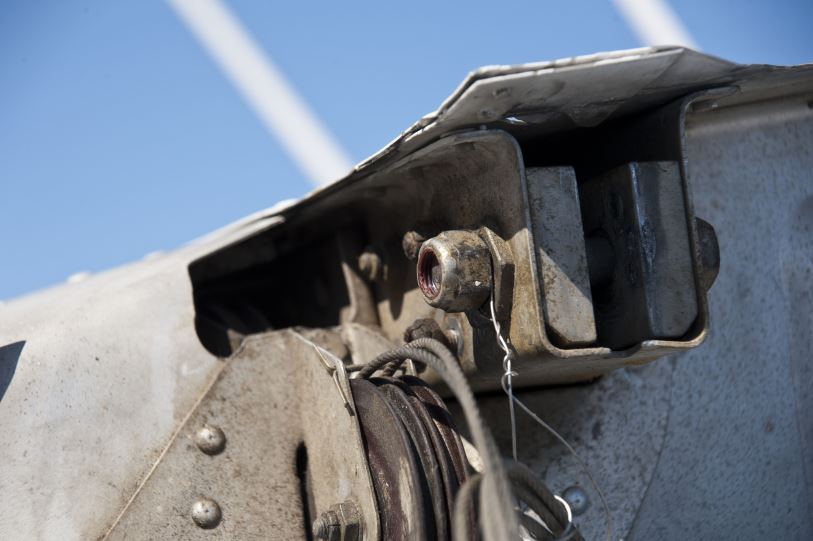
Here is a better view with the fairing removed. Note that three different scars can be seen on the fitting.
There is no way that this damage could have been caused in flight, it must have been caused either on installation or in some prior accident, but nonetheless passed many annuals as the corrosion on the bent pieces indicates it had been this way a long time. Such damage is cause for immediate grounding and there is no patch or filing approved for reservicing. It is worth specifically checking for such issues in pre-purchase inspections because it is so quick to remove the fairing. Further investigation indicated that the bolt holes on this strut had also wallowed out and were causing the looseness. Fresh nuts were found on the attach bolt, indicating someone had attempted to tighten this up in the past. Note that there are several flavors of wing struts for Cessna 170s. If you replace one, be sure to buy the correct replacement. The difference is in how the attach fitting is anchored to the strut.
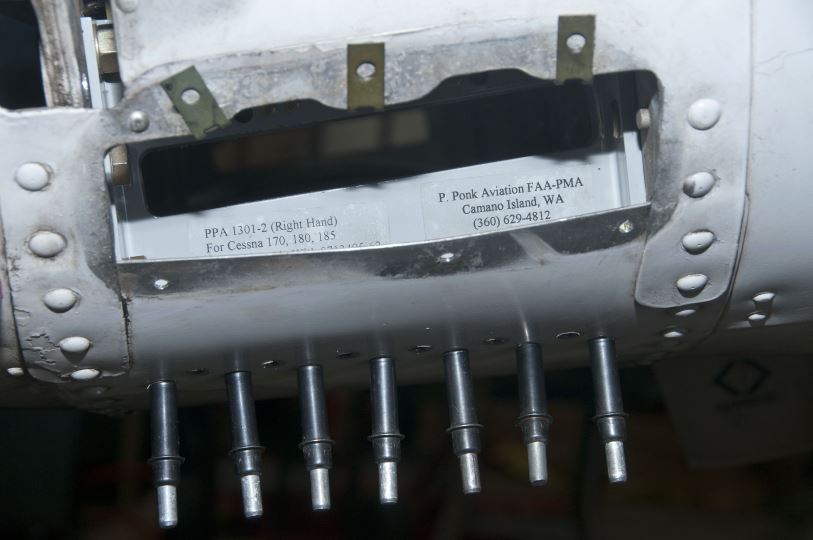
The gear legs on a Cessna 170 are held on with a single bolt after being trapped by two blocks, the inner and outer blocks, and along with wedges to keep them tight within the outer blocks. If these wedges are loose, which mine were, the gear legs will work against the blocks which will eat into the gear legs as well as damage the blocks. In my case, the blocks themselves were not properly attached to the airplane, which added to the looseness and compounded the wear. Another common problem, which I did not have with these blocks,, is intergranular corrosion within the blocks can weaken them to the point where you can drive (or push) a screwdriver through them with little to no outward signs of this decay. I'll discuss intergranular corrosion further when discussing the wing attach fittings, where we found such corrosion. PPonk makes replacement gear blocks, along with an addition inner block (their 'beef up kit') that can be added to the top of top of the gear leg that substantially improves the strength of the gear attachment. See the PPonk website for great drawings and animations of how the gear and blocks are arranged and how their kit improves their strength.
.jpg)
The outer casting blocks are attached to the airframe with bolts but also with flanges that rivet to the fueselage's sheet metal. We found that this flange was not actually attached to the fueselage, as someone had used pop rivets (seen on top left) that were too small to catch and hold the flange. You could press against this flange and move it with your fingers. After removing the blocks, we found the larger rivets holding the flange to the block had also wallowed out their holes due to the looseness.
.jpg)
Here is another view of flange. At bottom you can see the wedges that keep the gear legs tight against the block, held in with a bolt. These were loose, and something easily checked.
.jpg)
If these wedges are loose (or if anything is loose), the wedges will work against the gear leg and will eventually eat through the peening and cause the leg to fail. You can see the wear without taking the legs off.
.jpg)
Here is the top of the right gear leg. You can see the wear from the wedges and castings. That should not be there.
.jpg)
Here is the underside of the right gear leg, showing wear and corrosion caused by the loose gear box.
.jpg)
Here is the left leg, with similar issues.
Here are the legs. The chipped paint on the leading edges is actually corrosion through the peening. Have this measured to ensure it is airworthy, and addressed to prevent further corrosion asap. These were right at the limits of what could be measured and treated here, so would have needed to be sent out for repair, with the possibility that they were too worn to be repaired, yet still having to pay for shipping and inspection. So I decided to get 180 legs, which are a bit longer and stiffer. Apparently you can buy new ones made out of titanium too...
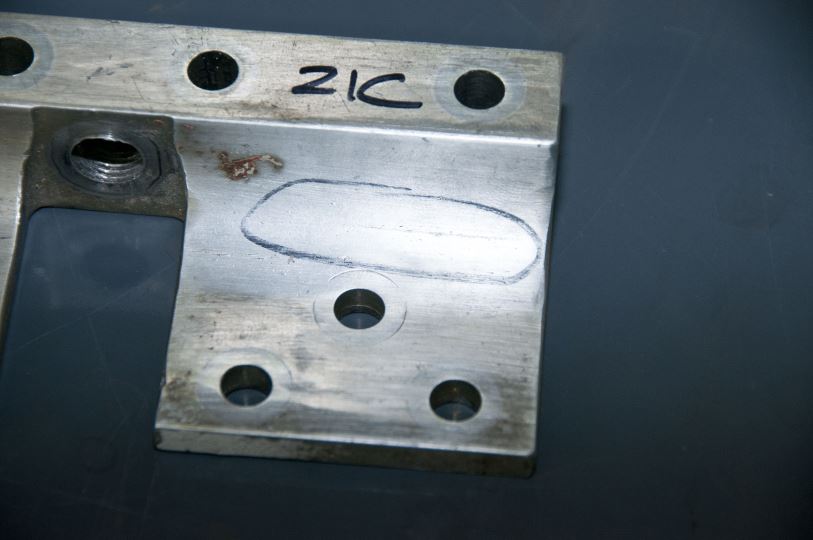
This block had a hairline crack. Though this could only be found by removing it, given the looseness we found on simple inspection it would be crazy not to expect such cracks exist and not go looking for them.
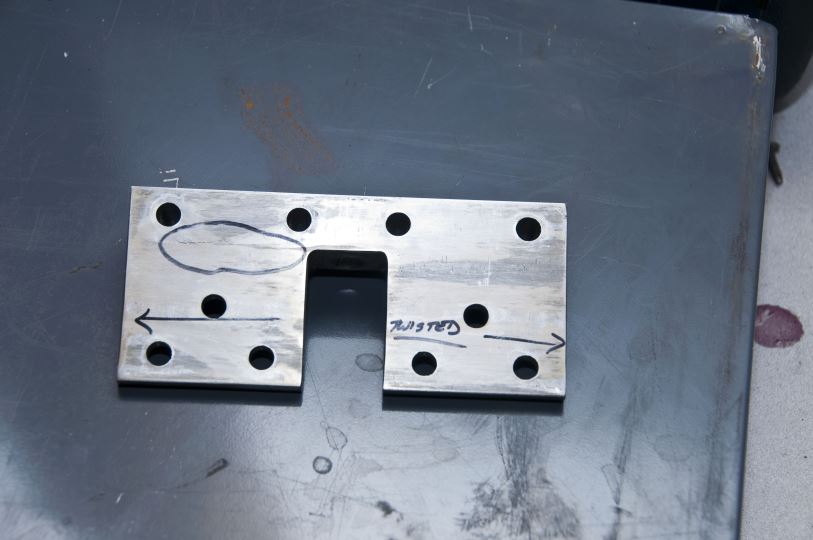
The block was actually twisted. If you laid it on a flat piece of metal, you could rock it. You can see the crack on the backside too.
You can see where the gear leg worked against the inner mounting plate at the top of the removed block. The angled flange at bottom is where the plate attaches to the floorboard. If you rocked the wings, you could see the rivets in the floorboard move. This is not a good sign. The rivet holes were so wallowed out that the flange needed to be replaced too.
Here is the new PPonk outer block being installed, with clecos holding the lower flange in place before riveting. These rivets need to be bucked, not pushed, as we found in my plane.
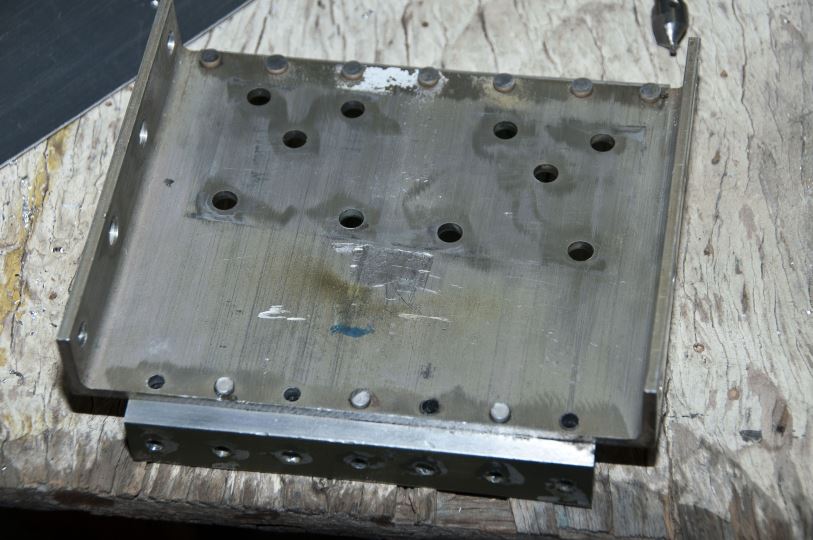
Here is the right side of the new gear box with the floorboard removed. The white piece at right is the outer casting with flanges attached and the next piece inboard is the back side of the inner castings with PPonk beefup kit attached.
Another view of the right side. The hole in the PPonk beef up kit at center is where single bolt that holds the gear leg goes into. By trapping the leg with the beef up kit, the leg attachment no longer depends on that single bolt, but also by the 8 bolts that hold the beef up kit to the airframe.
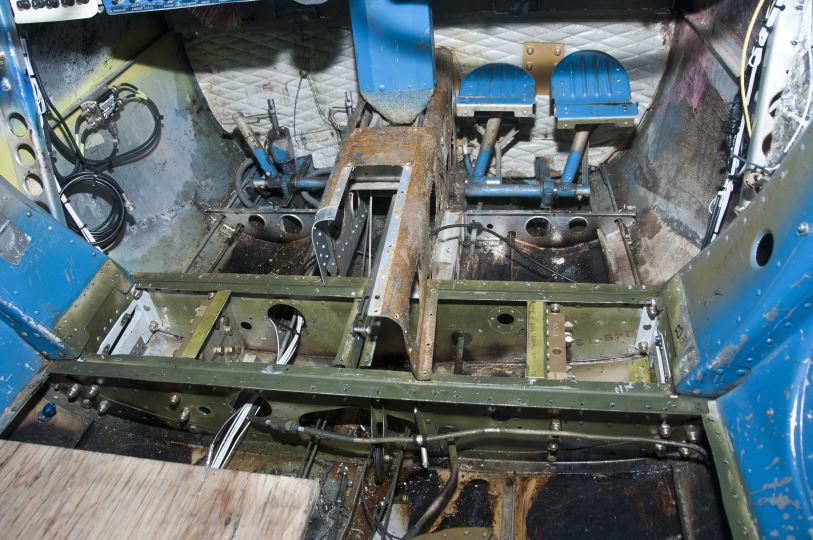
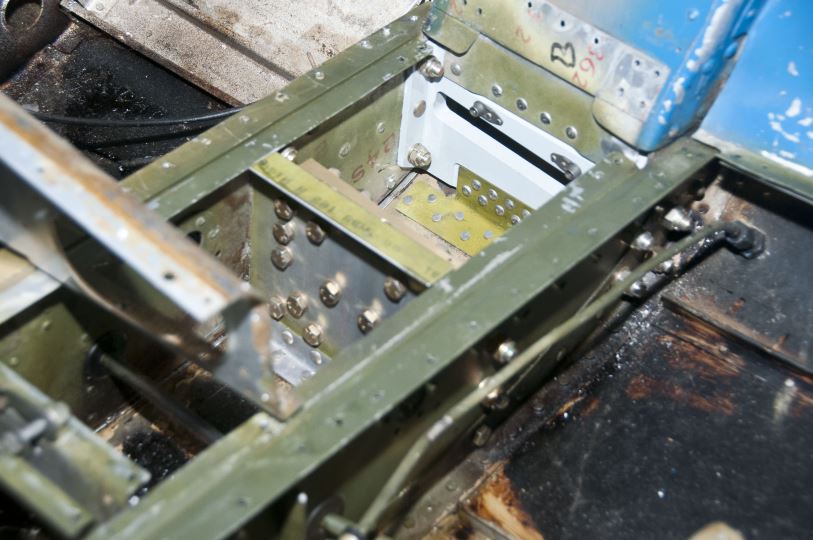
Here are both sides of the gear box. The most important part of the structure of the airframe forms a tube that starts at the gear box, runs up the door posts, and through the carry through spars. The gear legs and wings attach to this tube. Given the age of the plane and its long-term abuse, I decided to add the floatplane V-brace that stiffens this tube by adding more 3-dimensionalty.
The attached gear leg, as seen through the access cover in the floorboard. A simple way to assess whether the gear box is loose is to put your fingers on the rivets to the right (inboard) of this hole and have someone rock the wings -- if you detect any motion on the rivets, you have issues that need to be addressed.
Of course while working on the gear, the airframe needs to be kept off the ground.
These cradles are simple to build and effective. An engine hoist also helps support the front.

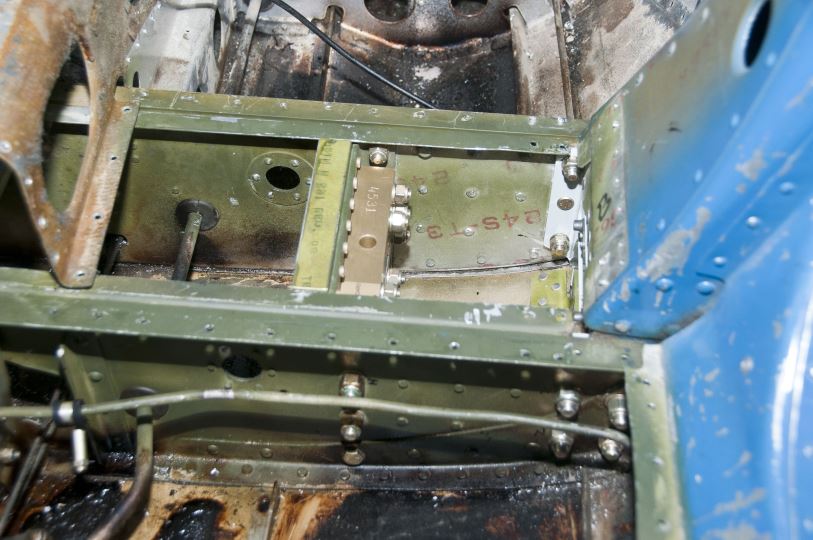
Gear box complete and new (for me) 180 legs installed.
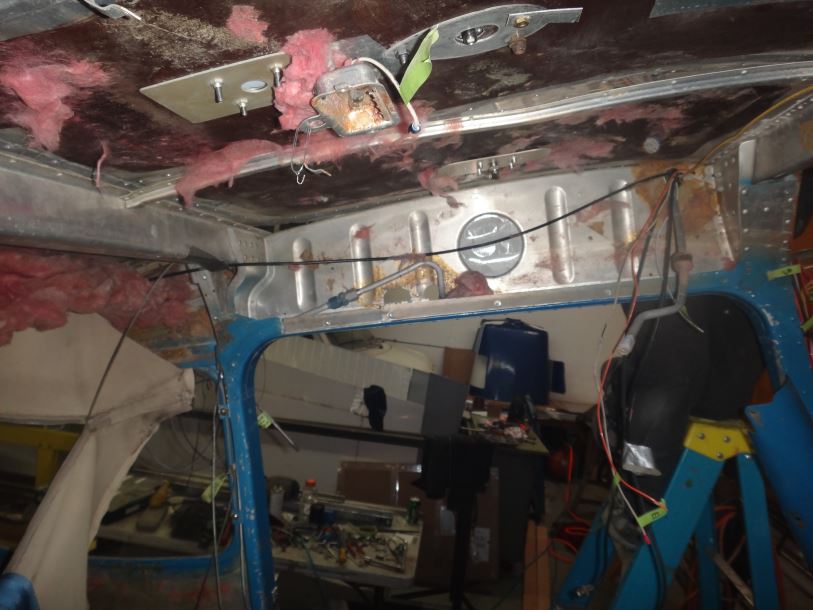
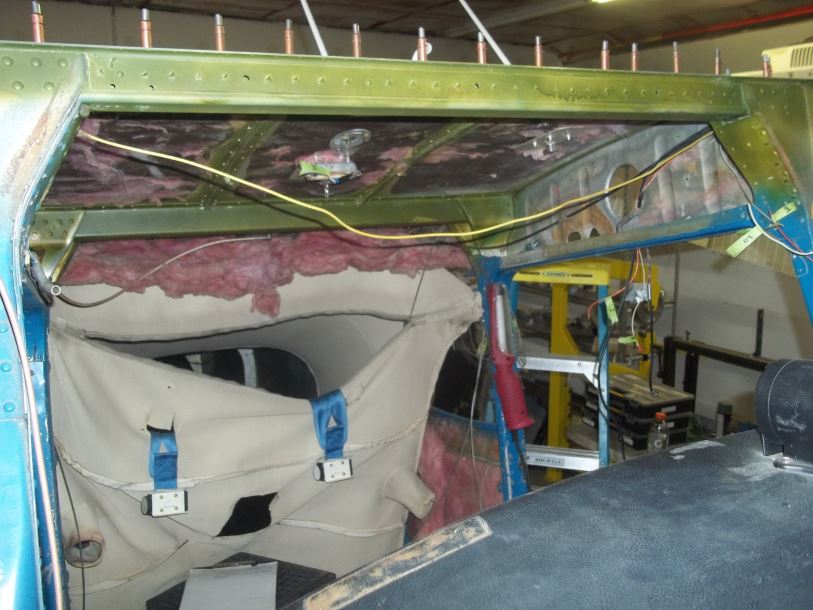
You might be surprised what's hidden behind your pretty headliner. Though they can be a pain to pull down and reinstall, in my opinion it is an absolute requirement for a pre-purchase inspection because what you could find there can literally cost tens of thousands of dollars to repair, if it doesnt kill you first.
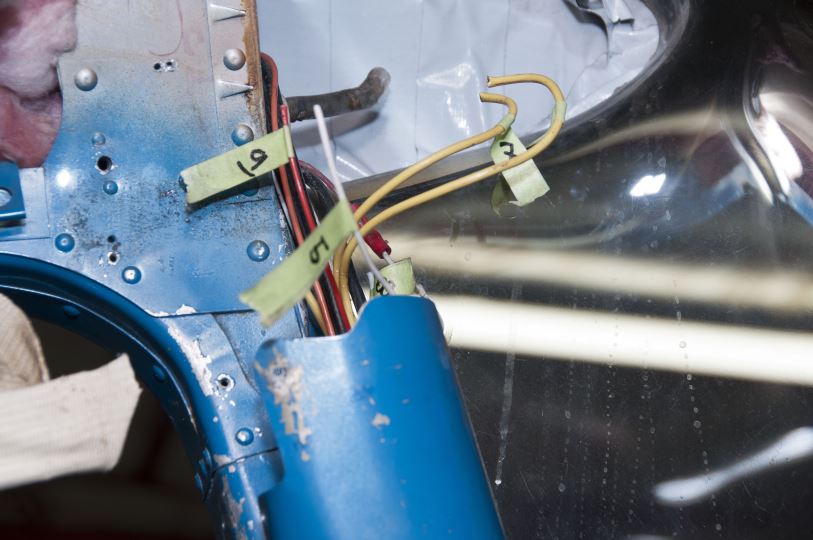
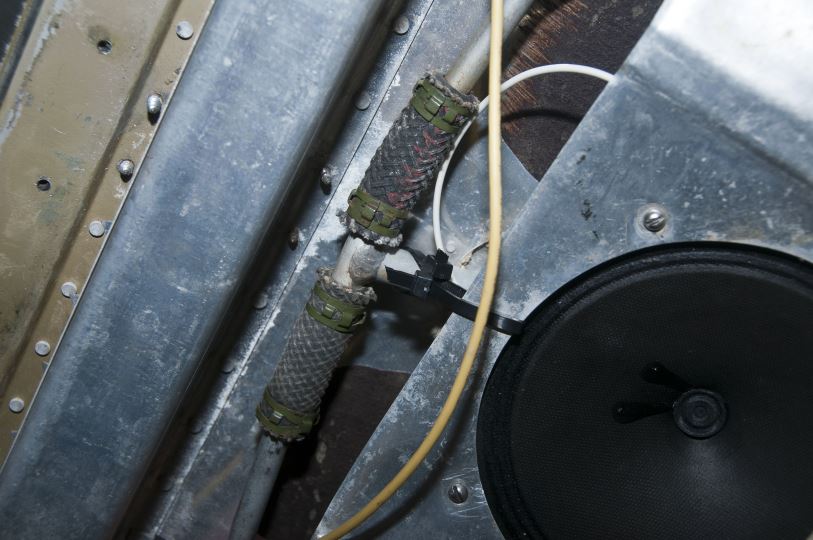
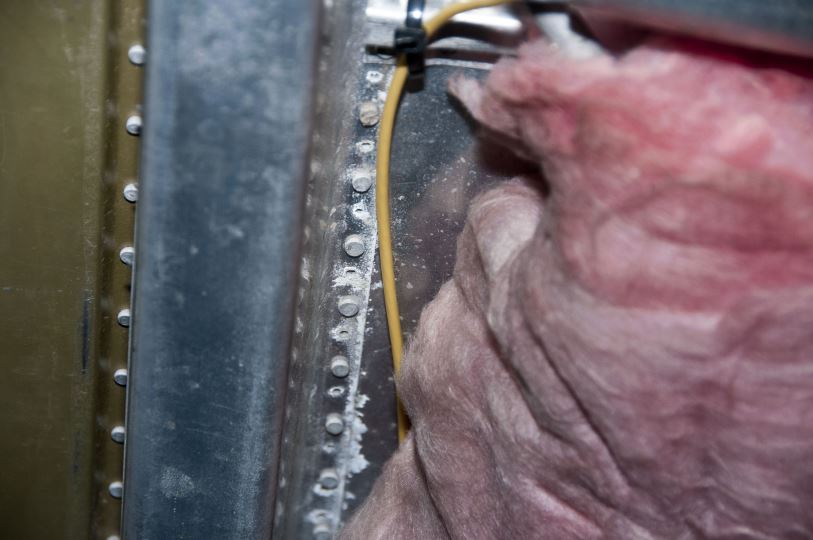
Color coded wiring is not approved in aircraft. Most of the wires leading from the panel were automotive or radio shack wiring. It was all thick enough gage, but still not legal. It is easy to check for this with the headliner down or by removing the cover on the door post.
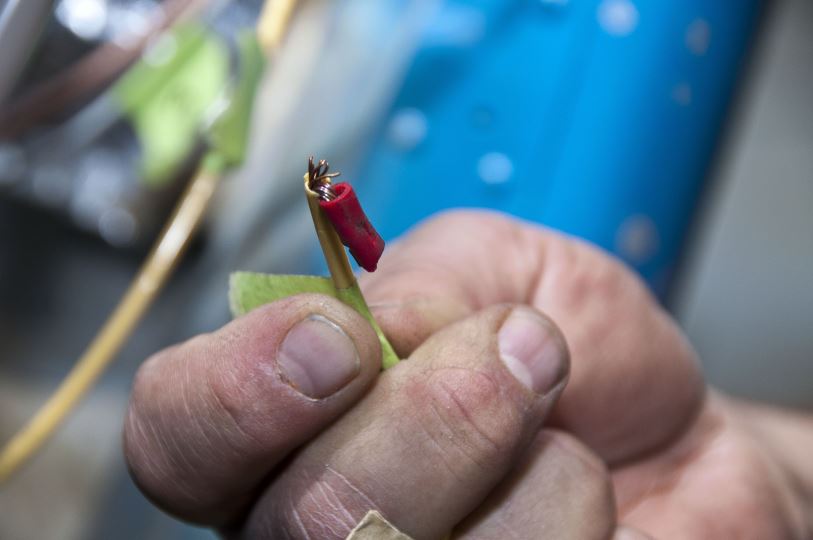
It was the connections that were the scariest part. Failed crimps like these were common.

This was typical. Yes, the wires are twisted together and wrapped with electrical tape. This take 5 minutes to discover, and should be part of any pre-purchase inspection and any first-time annual. We later found that some of these wires run into the wing were just snipped and left in place, still hot but not connected to anything.
Perhaps the scariest thing we found under the headliner was this bend in the fuel line coming from the wing, seen just left of center in the photo. The line comes from the lowest part of the tank, at the aft end, hopefully ensuring the minmum amount of unusable fuel. It is supposed to be routed along the door frame. This line, however, makes an upward bend for about 3 inches, probably trapping another five gallons or more of fuel as unusable!
This is the foward carry through spar revealed by removing the headliner. The white corrosion seen where it attaches to the upper skin should raise very loud alarm bells, as it indicates major and perhaps severe corrosion in the spar. Replacing the spars is perhaps the most expensive repair on the airplane, next to engine overhaul, and you can discover signs of it easily. More about corrosion in the next few sections.
The carry-through spars connect the left and right wing spars together and form an integral and necessary part of the wing structure. If these fail, the wings come off, probably in flight when loads are exerted on them. The most common way for them to fail is corrosion. Cessna has been trying to educate mechanics and owners about corrosion detection and treatments for the past decade, and as of 2014 will make a long list of corrosion inspections mandatory annually. You can see a video describing the inspections, though on nice shiny aluminum fresh at the factory. The carry-through spars are U-shaped with the open part up. This is a bit unfortunate as this traps any moisture that may enter the channel. It also makes it difficult to inspect the interior because it is essentially trapped. Cessna makes a kit that creates an inspection panel above the spar through the top skin. There are also several small holes where a borescope can be fit into. Our borescope inspection revealed severe corrosion, which means they need to be replaced. To me, it would be crazy to buy a plane without inspecting the carry-through spars for corrosion.
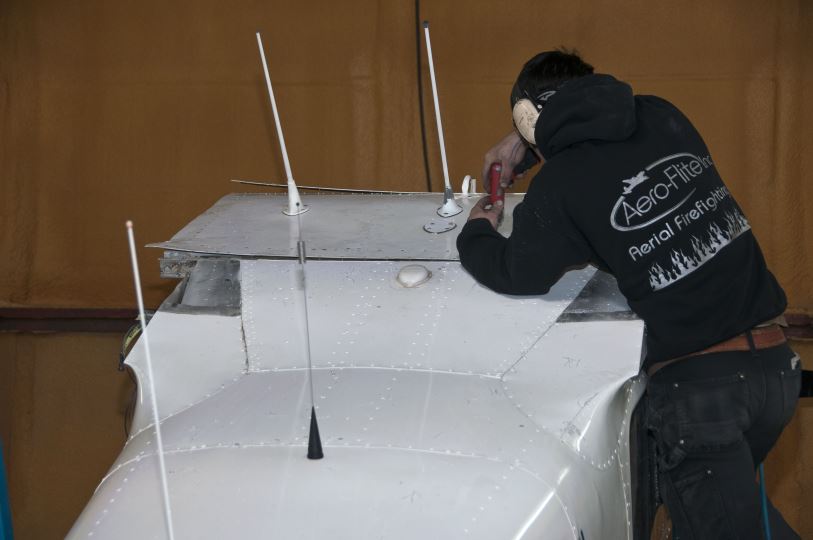
Getting at the carry-through spars means not only removing the wings, but pulling the top skin and associated antennae.
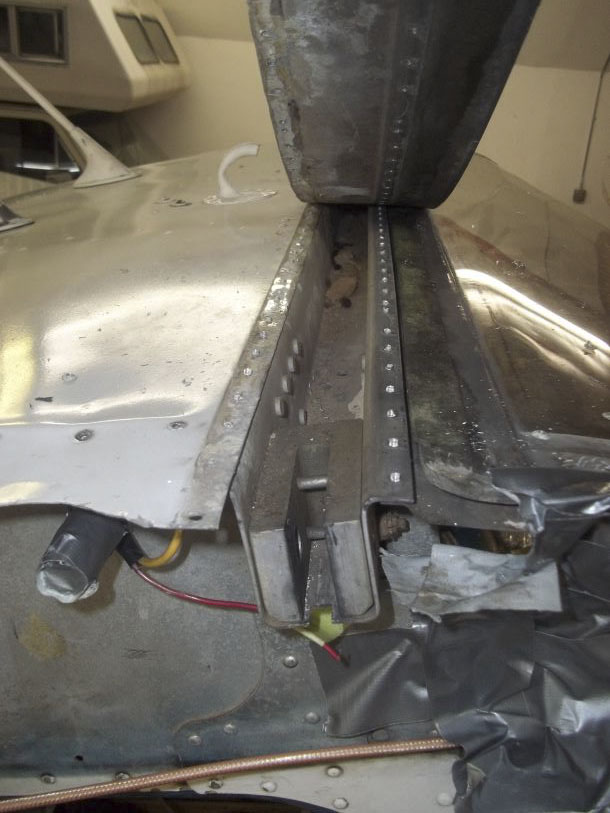
First look at the inside of the forward carry-through spar. What is that stuff inside it?
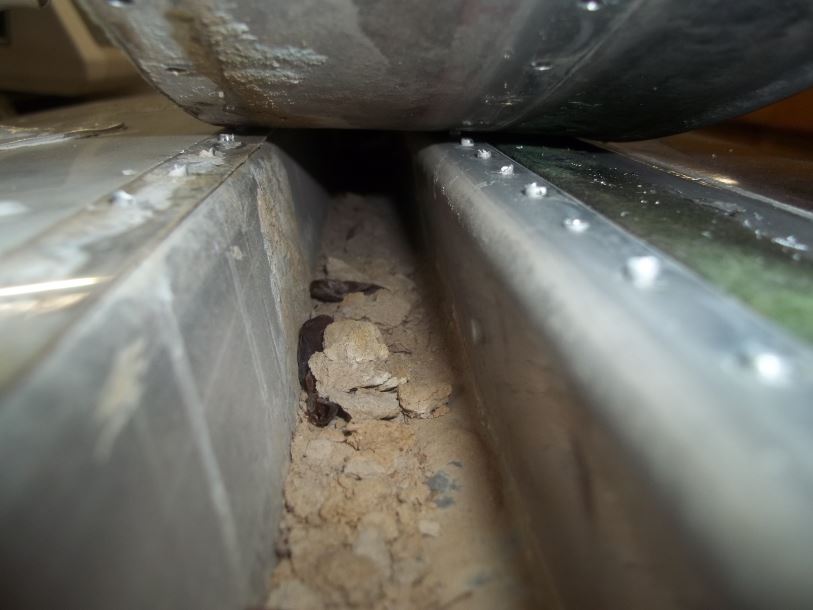
Our best guess is that it was insect houses. There was a layer of mud 1/2" thick that looked like dwellings and outhouses, plus a few carcasses and cocoons. Whether they caused or facilitated the corrosion is unclear, but you can clearly see it at the skin connection and along the sidewalls and beneath the mud once removed.
One way for this corrosion to start is where the shoulder harnesses attach to the strut. The attached screws are steel (per STC), seen in pairs just forward of the skin seam near center, and hopefully coated with an insulator that prevents dissimilar metal corrosion with the aluminum wing strut. On installation and subsequently, this coating will rub off so these screws are obvious things to check and replace as needed.
Here's where the shoulder harness is attached, as seen from above with the skin removed.
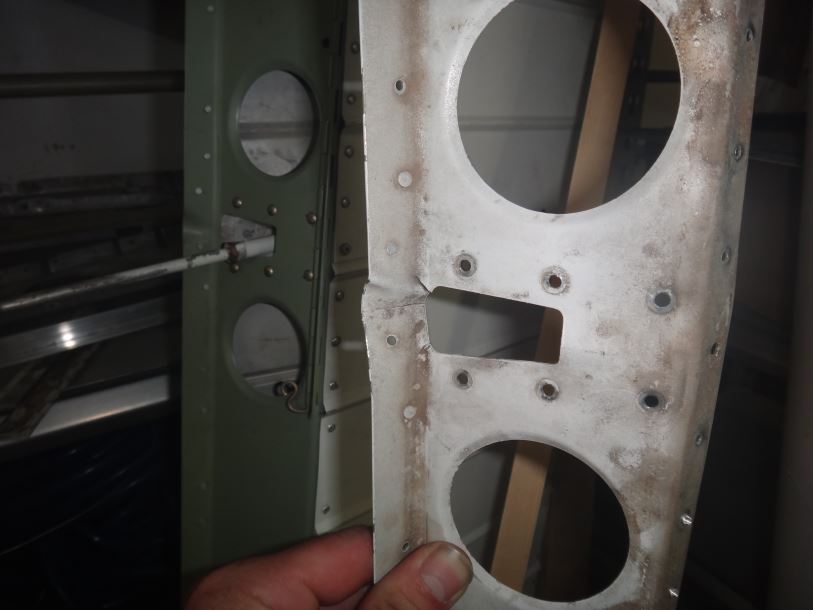
The carry-through spar terminates with this block, and the wing spar gets inserted into the channel of that block and secured with this single bolt. Note that this bolt was not long enough to reach the nylock on the nut! It may not even be an aviation bolt.

These blocks can suffer from intergranular corrosion, just like the gear blocks can. This type of corrosion is particularly dangerous because you cannot tell how extensive it is, as it works between the grains out of site. We noticed surface corrosion on each of these blocks, and could easily work a pocket knife into lower layers, as you can see in this video. It makes no sense not to replace these if any sign like that is obvious, as even though surface expression remains the same, the block can become so weak that you can crush it in your hands.
The fresh carry-through spars set in place. It's nice knowing they are not going to disintegrate in flight.
Ready for rivets.
Better than new. Or at least substantially better than they were.
The wings, flaps, and ailerons are obviously important parts of the aircraft. The strength of the wings is dependent not only on the attachment points, which had major issues on this aircraft, but also on the integrity of the aluminum that compose them. In this case, both the wing skin and spars had serious corrosion issues which required them to be replaced. In addition to "simply" the corrosion issues, we found hot wires flapping around in there, misaligned ribs, shot rivets missing ribs completely, rivets so short there were no buck tails, and cherry max rivets holding the skin to the spars. The ailerons and flaps are also subjected to corrosion as well as physical damage. In this case, there was no major corrosion in them, but the ailerons were barely attached. Before disassembly, we noted that the both the ailerons and flaps were not rigged properly according to Cessna specs.
.jpg)
This is major corrosion on the wing skins, after removal. If you see anything but shiny alumunim inside your wings, have it checked by an expert familiar with Cessna's corrosion guidance. Before pulling the skins off or finding the spar corrosion, we had the seams checked via ultrasound, which found no problems, which is somewhat verified by shiny metal stripes seen in this photo.
.jpg)
Corrosion on the aft spar inside the fuel tank bay. If the screws holding this access panel are so rusted they all have to be drilled out, it's a good sign nobody has looked for corrosion back here, ever.
This is the right aileron spar, after disassembling the aileron. At center is where the control rod attaches to move it (see the left aileron in the background). A crack was run clean through the spar at this location. Due to other damage of the skin, we completely rebuilt this one with fresh components rather than try to repair.
There were numerous miscellaneous issues with the aircraft. Here are some photos of the more significant ones.
old pedal photo
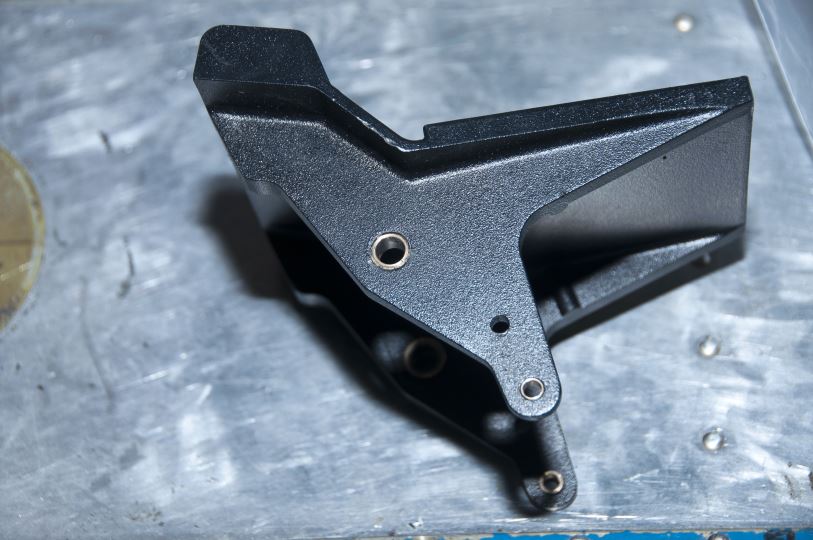
The new pedals. These have more beef around the attach holes and are a bit better ergonomically.
The airbox bushing had signficant wear, causing the flap to bind. We replaced the bushing, and then when checking its operation the cable snapped, so we replaced that too.
.jpg)
This is the old bushing, with the old carb heat cable attached. There was significant play in the bushing and cable snapped once the new bushing was installed.
In the course of inspecting the aircraft, we found that the installed windshield was not only the wrong one but was not properly attached. In fact, the only thing keeping it in place were the wing root fairings. With these removed, the windshield could be pushed out with no effort. Further investigation revealed no STC or maintenance log entry. As I've come to learn, flying without a windshield is not like flying with a door removed, as the plane becomes a parachute, and a lousy one at that.
The looseness of the windshield caused significant chafing and cracks along the edges where it rubbed against the skin. When you rock the wings, you should see little to no movement in the windshield, as we show in this video.
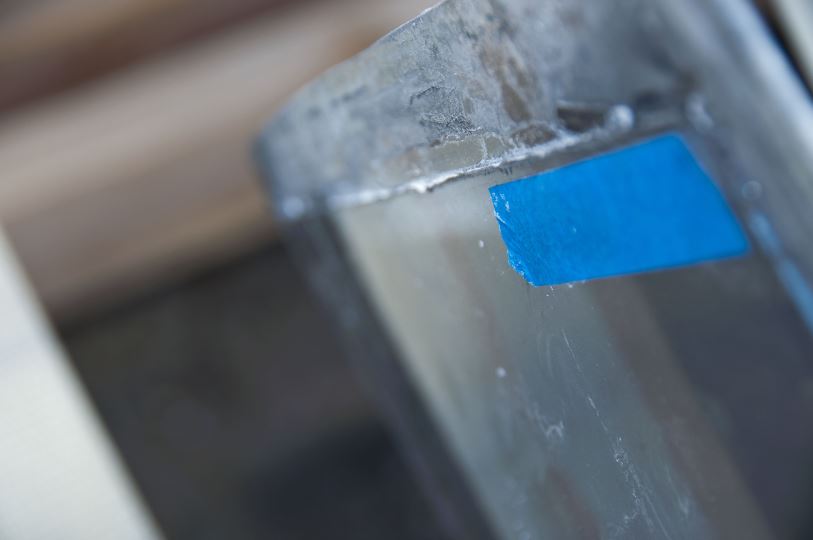
The chafing, cracks, and scoring were so signficant, that it took only finger pressure to snap it along this line, as you can see in this video.
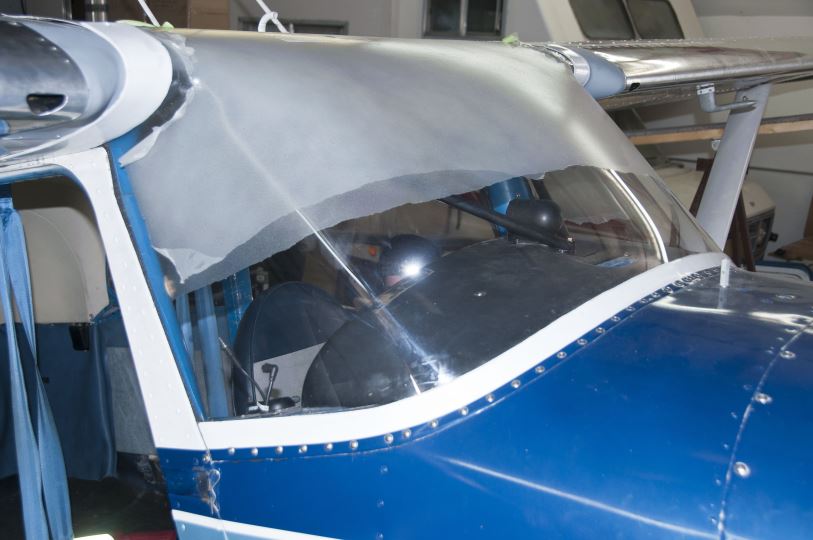
The new (and correct!) one piece windshield installed, with the foggles option. To check if yours is properly installed, there should be a bar running along the length of the upper surface riveted to the upper skin, forward of the carry-through spar. No amount of finger pressure could snap the edges of this one and no amount of shoving could push it out, even with the wing root fairings off.
The engine had a fresh overhaul, but there were still some issues. The biggest was that there was no clearance between the exhaust pipes and intake pipes, causing them to chafe.
.jpg)
There's not much room between the pipes, but if installed properly there is just enough to keep them from chafing.
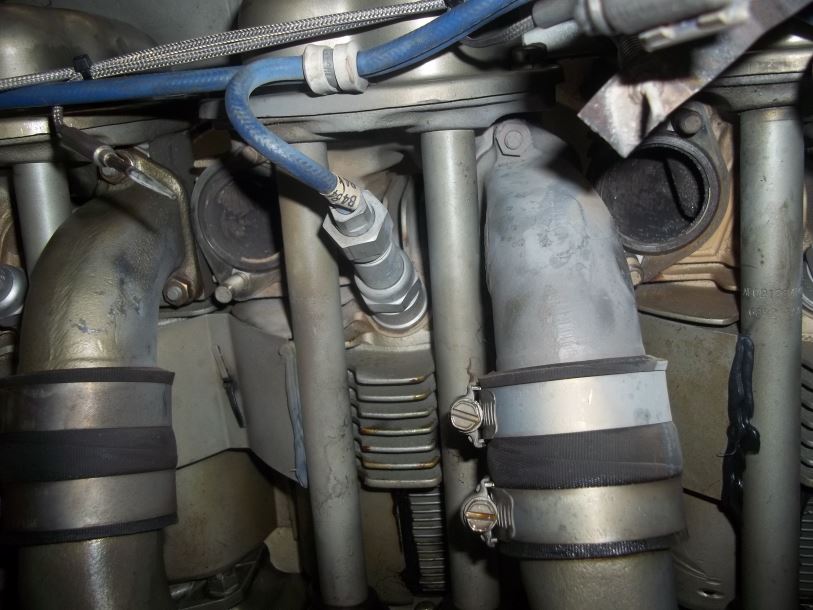
There are two types of exhaust gaskets, the difference being whether you want the unavoidable motion of the exhaust pipes to wear down the gaskets or the pipes. No-blow gaskets had already been installed here, and once installed its impractical to go back to the others.
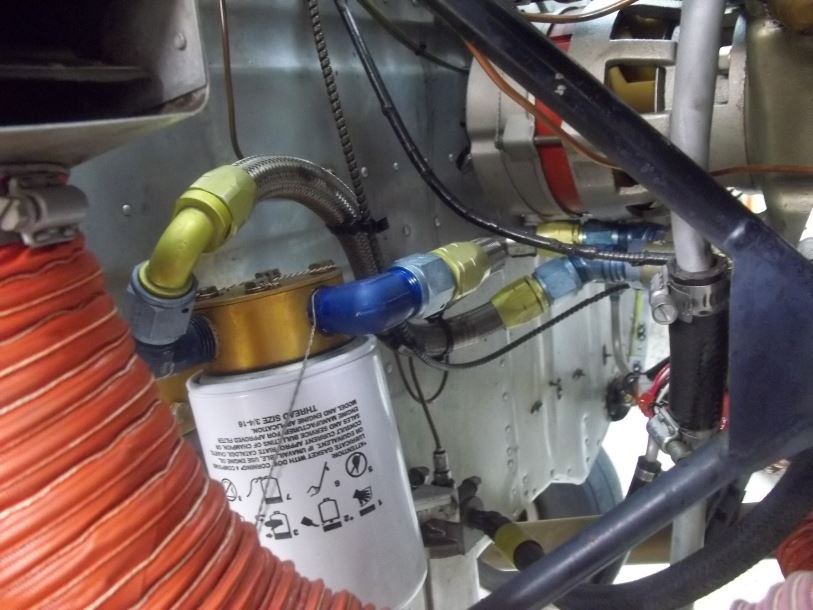
The oil lines should all be protected by fire sleeves, which we had to add.
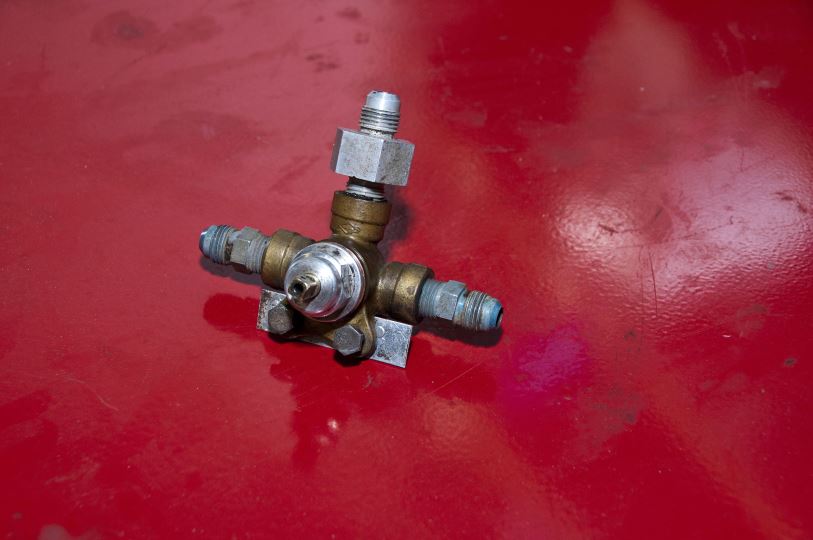
Here is the old fuel selector valve. It was quite stiff to move and had no detents. Turns out this model valve was not approved for my plane and the connections leaked because of poor flaring.
I'm not a mechanic so take this for what it is worth, but here is what I would personally inspect or want photos/videos of before buying another ancient Cessna. These are things that I did not find on the lists I found online, so dont take this as comprehensive, just additional. It might cost a few hundred dollars extra, but could save tens of thousands of dollars as some of these deal with the most expensive parts of the airframe to repair or replace, and some could cause your flight experience to become challenging on short notice. The basic advice is that the engine is not the only big ticket repair item on these planes -- the carry-through spars, the wings, and the gear cost more to repair than an engine overhaul and are much easier to diagnose if you just look for the right things.
- Check the wing struts for looseness. Pull the fairings and look for wear, damage, and any wierdness.
- Inspect the gear box to make sure there is nothing (!) loose. If possible, loosen the wedges and try to drive them in further to see if the blocks come apart due to intergranular corrosion.
- Check the gear legs for any corrosion and have it measured for depth if you find it.
- Pull the headliner at least as far as the aft side of the wing and pull the covers off of the door frame posts. Look for color coded wiring, improperly run fuel lines, wear on the fuel lines, and visible corrosion around the carry-through spars and wing skins.
- Borescope the carry-through spars. If you see any corrosion or its clear that you are the first to inspect it, run away or reduce your offer considerably. Because corrosion inspections of the spars are going to become mandatory by Cessna next year, there may well be a flood of aircraft on the market this year that seem like a good deal...
- Pull the fuel tank access panels off to check for spar corrosion. If you have to drill these screws off to open the panel, chances are no one has checked for corrosion there in a long time and by not doing it you are setting yourself up for a big surprise.
- Examine the pedals where they attach. If the holes are wallowed out or you notice any play, they need to be replaced or they could snap off or jam in flight. There's not much metal there, and any original pedals should likely be replaced.
- Move the pilot yoke for aileron control. The co-pilot yoke should sensitively move exactly the same way with no slop. If you can move one yoke more than 1/8" and the other doesnt move, you've got issues that need to be resolved, and they could be major in flight.
- Move the fuel selector valve into all positions. It should move easily, but not too easily, and there should be detents at each location. Wait overnight and see if there is a puddle of fuel under the plane or dripping from the belly.
- The plane should fly hands off. If it doesnt, it isnt rigged properly or you have other signficant issues to deal with.